Notifications, scheduler & MCP server
This page groups three configuration surfaces that are independent but related: where alerts go (Notifications), recurring jobs (Scheduler), and external AI integrations (MCP Server).
Notifications
Ops AI sends notifications about important events via Microsoft Teams and email. Open Notifications (/app/notifications) to configure.
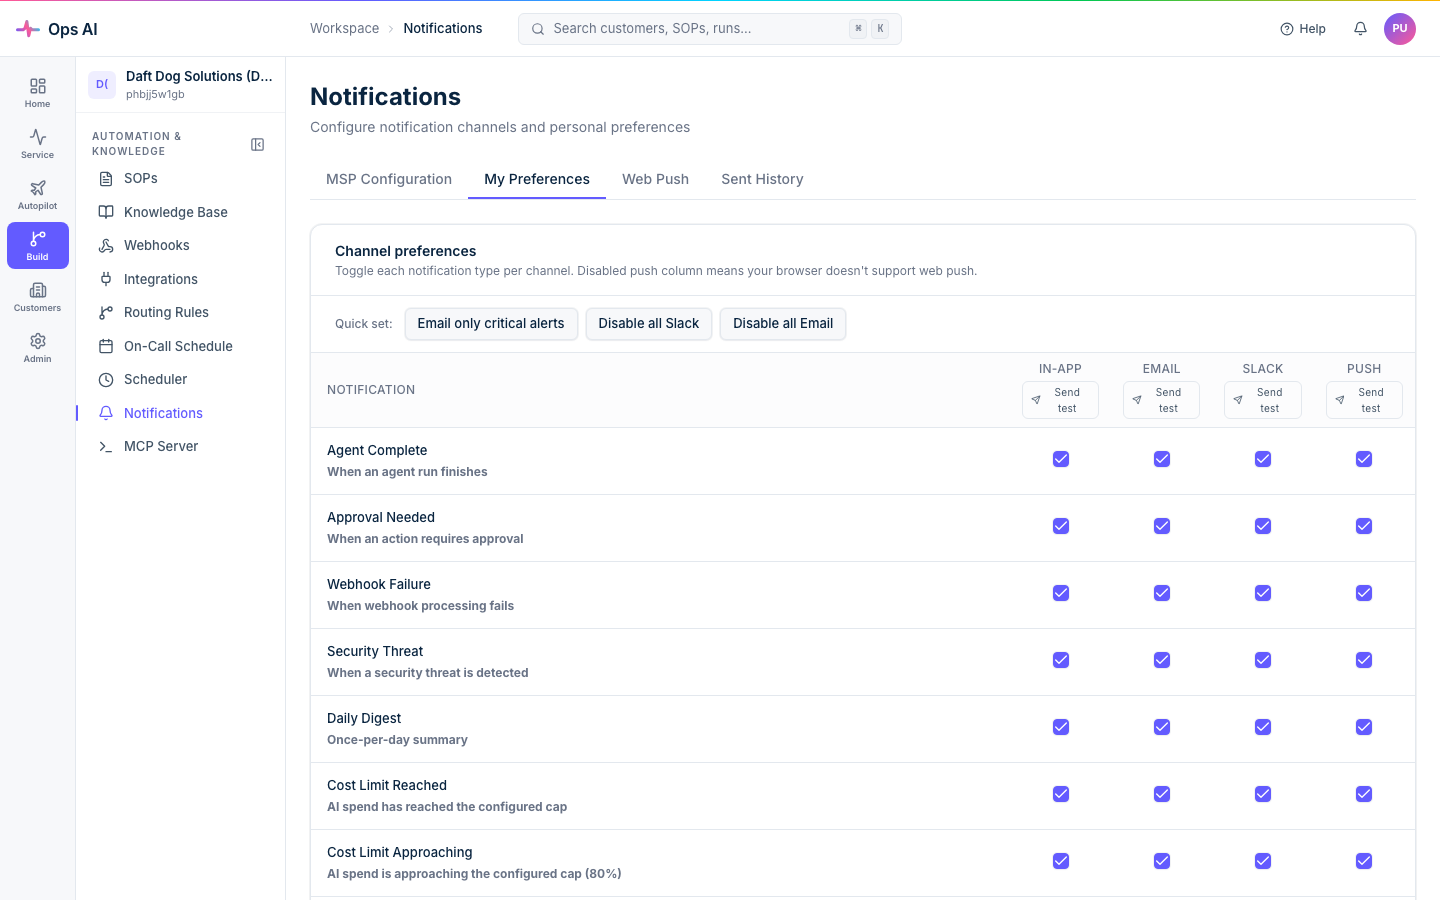
The page has two tabs: MSP-level (admin-only org-wide settings) and Per-user (personal preferences for the signed-in user, also the default tab for non-admin users).
MSP-level configuration (admin only)
-
Teams webhook URL — paste an incoming webhook URL from your Microsoft Teams channel. All Teams notifications for your organisation post here.
Ops AI recognises three URL shapes:
- Workflows URL (
*.logic.azure.com/workflows/...) — the Microsoft-recommended replacement after the Office 365 Connector retirement (Dec 2024+). Recommended for new MSPs. - Legacy migrated URL — older Office Connector that's been migrated. Still works but logs a
teams_webhook_legacy_urlwarning each dispatch. - Legacy
office.comURL — same as migrated; works but logged.
Save is blocked on invalid URLs.
- Workflows URL (
-
Email from address — optionally customise the sender for email notifications (defaults to Ops AI's standard address).
-
Email reply-to address — set a reply-to so replies go to the right place.
-
Test — send a sample notification to verify the configuration. Sample lands in your Teams channel and your inbox.
Per-user preferences
Each user controls which notifications they receive. The grid is event type × channel:
| Event type | Description |
|---|---|
| Agent Complete | An agent run has finished executing. |
| Approval Needed | A human-in-the-loop step requires your decision. |
| Webhook Failure | A webhook event failed processing after retries. |
| Security Threat | A Security Response agent was triggered by a threat. |
| Daily Digest | Morning summary of yesterday's SOP outcomes. |
Per event type you choose Teams, Email, Both, or None.
Notification throttling
To prevent floods, notifications coalesce automatically:
- A burst of >5 of the same event type within a 60-second window collapses into a single "5 events occurred" summary.
- Individual events are still visible in the relevant page (Approvals, Webhook Events, etc.) — only the notification dispatch is batched.
SMTP2Go quota awareness
Email is sent via SMTP2Go. There's an in-platform burn meter and a daily quota check; if your MSP's email volume spikes (e.g. a webhook storm), the platform throttles per-MSP dispatch before the global quota is hit so on-call email isn't choked. Visible to Ops AI Support; you don't normally see this.
Scheduler
Open Scheduler (/app/scheduler) to manage recurring automated jobs. Several built-in job types ship with every tenant:
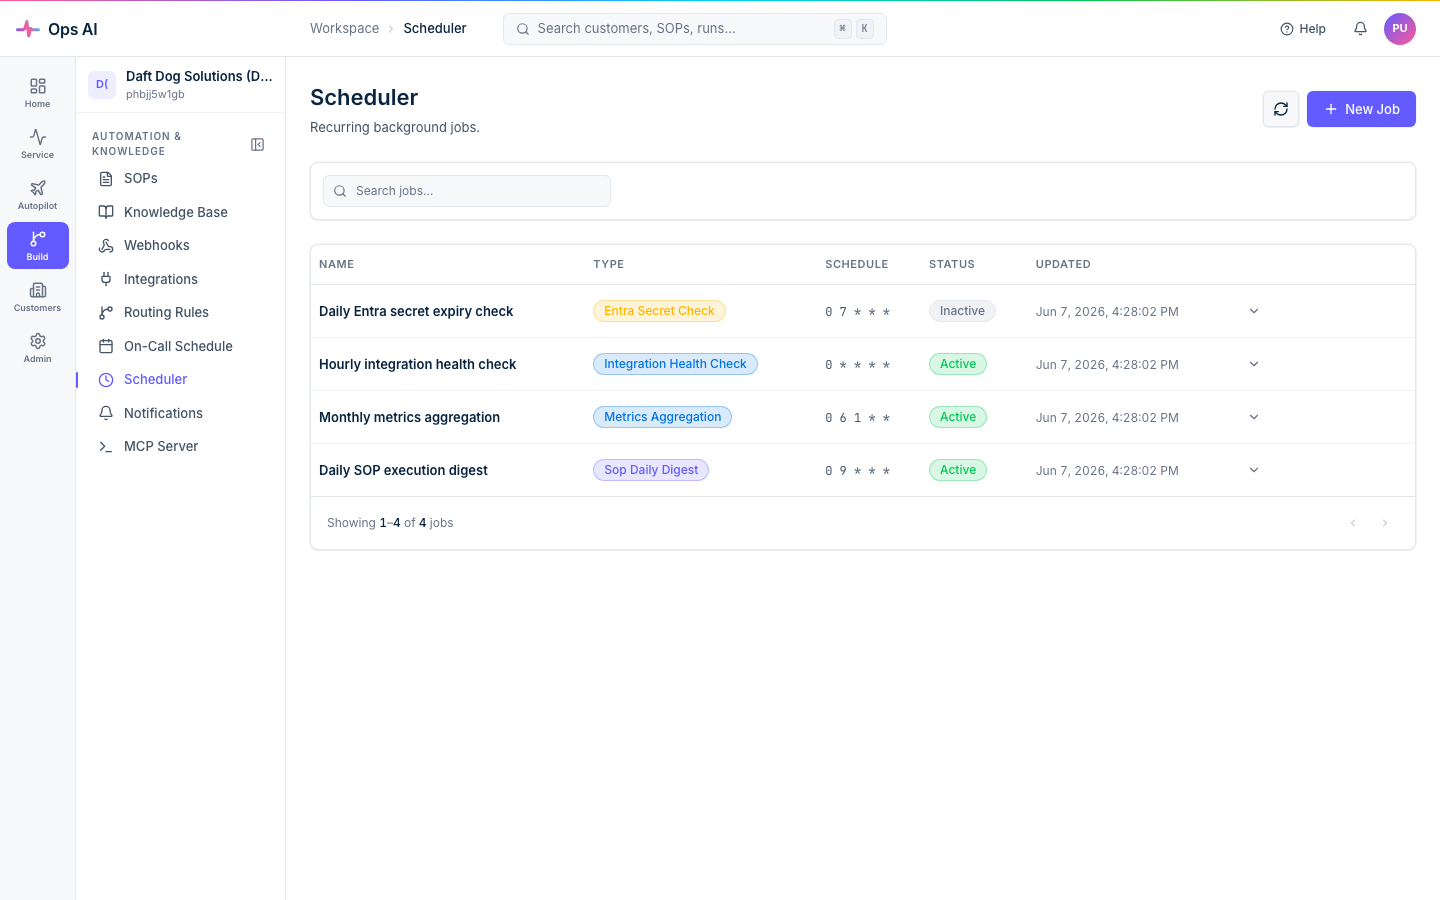
| Job type | What it does |
|---|---|
| Data Retention | Cleans up old records according to configured retention periods (e.g. webhook events after 90 days, audit logs after 1 year). Aggregates summary data before deleting so analytics are preserved. |
| Metrics Aggregation | Runs daily to count webhook events, agent runs, approvals, and SOP executions. Powers the Analytics dashboard and trend charts. |
| Entra Secret Check | Monitors your Entra client secret expiry date and sends email reminders at 30, 14, 7, and 1 day(s) before expiry. |
You can also schedule custom Reporting agent runs — useful for sending a customer's monthly report on the 1st of every month, or kicking off a vendor-state audit every Sunday at 3 AM. Published SOPs can also be triggered on a cron schedule from here.
Creating a scheduled job
- Click Create job to open the form.
- Select the job type from the dropdown.
- Enter a cron expression (5 fields: minute, hour, day-of-month, month, day-of-week). Examples:
0 2 * * *— every day at 02:00.0 0 * * 0— every Sunday at midnight.*/30 * * * *— every 30 minutes.
- Save. The job runs automatically per schedule.
Job run history
Click any scheduled job to view its run history:
- Run time — when it executed.
- Status — succeeded or failed.
- Duration — how long it took.
- Output — for Reporting jobs, links to the generated report.
Admins and Techs can create + edit scheduled jobs; all roles can view the schedule and run history.
MCP Server (external AI clients)
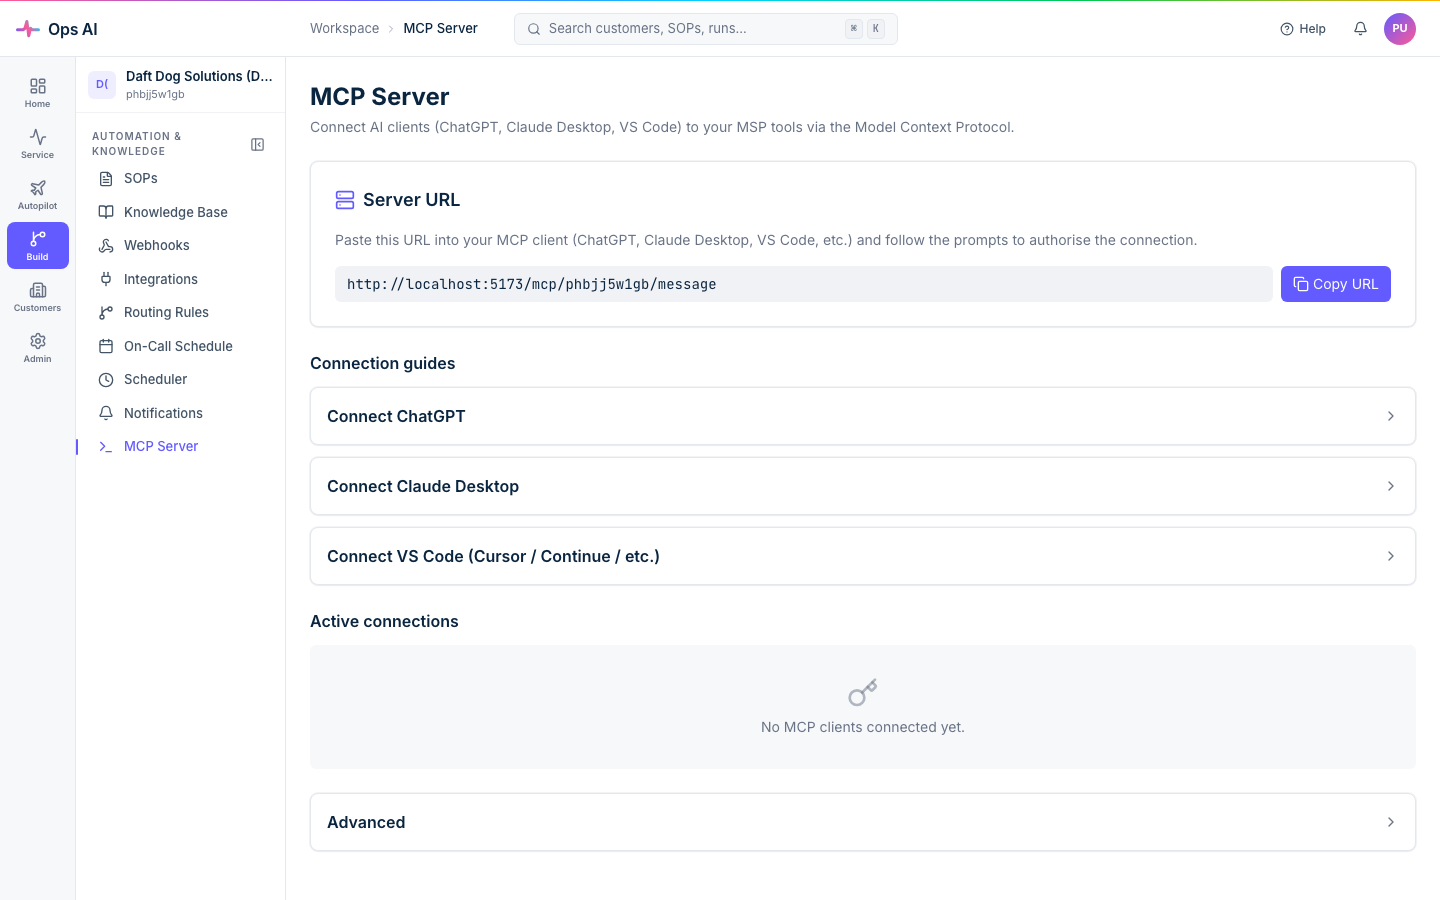
Open MCP Server (/app/mcp) — the Model Context Protocol server lets external AI assistants (ChatGPT, Claude, custom tools) connect to your MSP data securely via OAuth 2.1.
What it does
MCP is an open protocol that lets AI tools call functions on your behalf. When an AI assistant is connected via MCP, it can search tickets, query device info, look up documentation, isolate endpoints — all scoped to your MSP's data and integrations with the same approval flow as in-app actions.
Server details
The MCP info page displays:
- Server URL — the endpoint your AI tool connects to. It looks like
https://app.msp-ops.ai/mcp/{your-slug}/message. - Available tools — the MCP server exposes the full agent tool registry. The list grows over time; check the page for the live list.
Registering a client
Two-step OAuth 2.1 flow:
- The assistant sends a registration request to your MCP endpoint (Dynamic Client Registration — DCR).
- You receive (and the client receives) a client ID and client secret for OAuth 2.1 authentication.
- The assistant uses these credentials to obtain access tokens and call tools.
For most MCP clients (Claude Desktop, Cursor, ChatGPT), DCR happens automatically when you add the MCP endpoint to the client's settings — you'll see a consent prompt rather than having to manually copy a client ID/secret.
Managing clients
The MCP info page lists all registered clients:
- View client details (name, ID, creation date).
- Delete a client to revoke its access immediately. The client must re-register to reconnect.
Consent
Open MCP Consent (/app/mcp/consent) for the per-client consent flow. When a new MCP client tries to register, you (admin) review the consent request and approve or reject. Approved clients are added to the registered-clients list.
Where to look when something goes wrong
- Teams notification not arriving — confirm the Teams webhook URL is valid (workflows or legacy form); use Test to send a sample. If Test works but real events don't arrive, check per-user preferences and the Notification Channels setting on the relevant SOP/agent.
- Email notifications stopped suddenly — the SMTP2Go quota check may have throttled. Contact Ops AI Support if you suspect quota exhaustion; they can confirm.
- Scheduled job didn't run at expected time — confirm the cron expression and the job's enabled state. Check the run history for an error message.
- MCP client can't connect — confirm the client URL exactly matches what the page shows (including the trailing
/message). For consent issues, check the MCP Consent page for pending approvals. - MCP client connected but no tools available — your role may be too low; MCP inherits the role of the user who registered the client. Re-register from an admin user if needed.